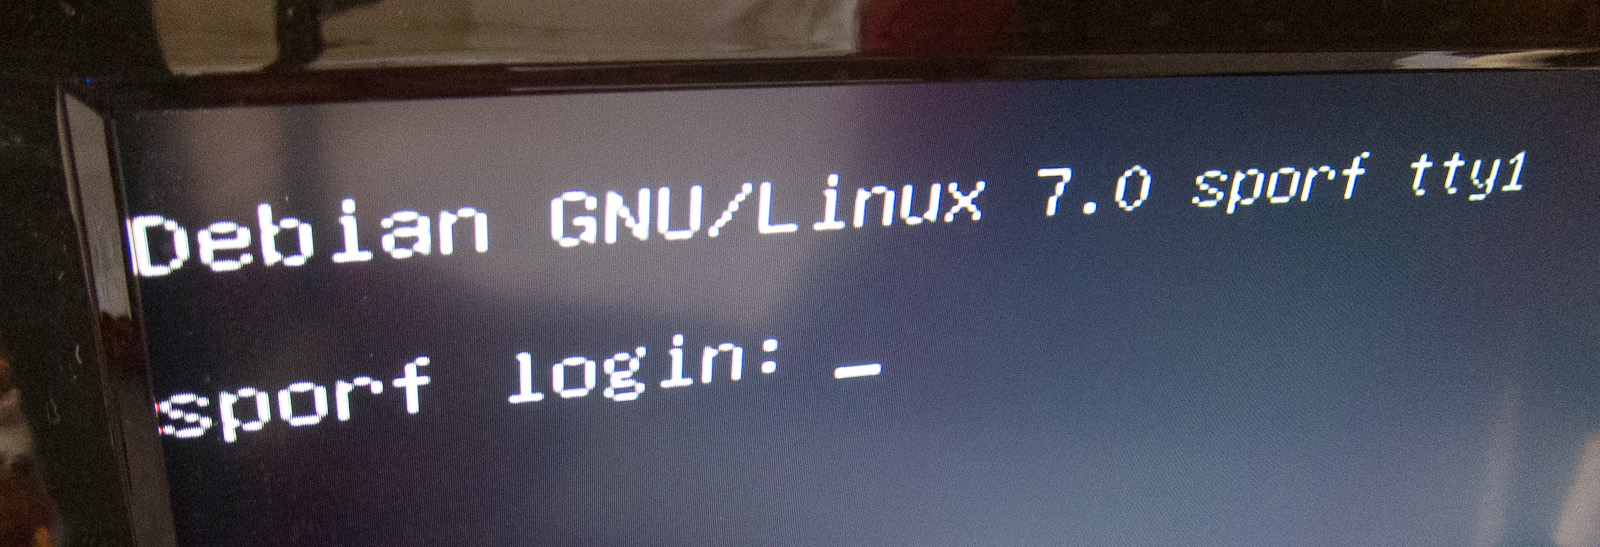
I've assembled a network installer image to install Debian 7.0 "Wheezy" on the GK802 "Android TV" Mini PC. This is intended for people who want to run the GK802 headless or semi-headless, for server or robotics applications.
Last update: 24 May, see details
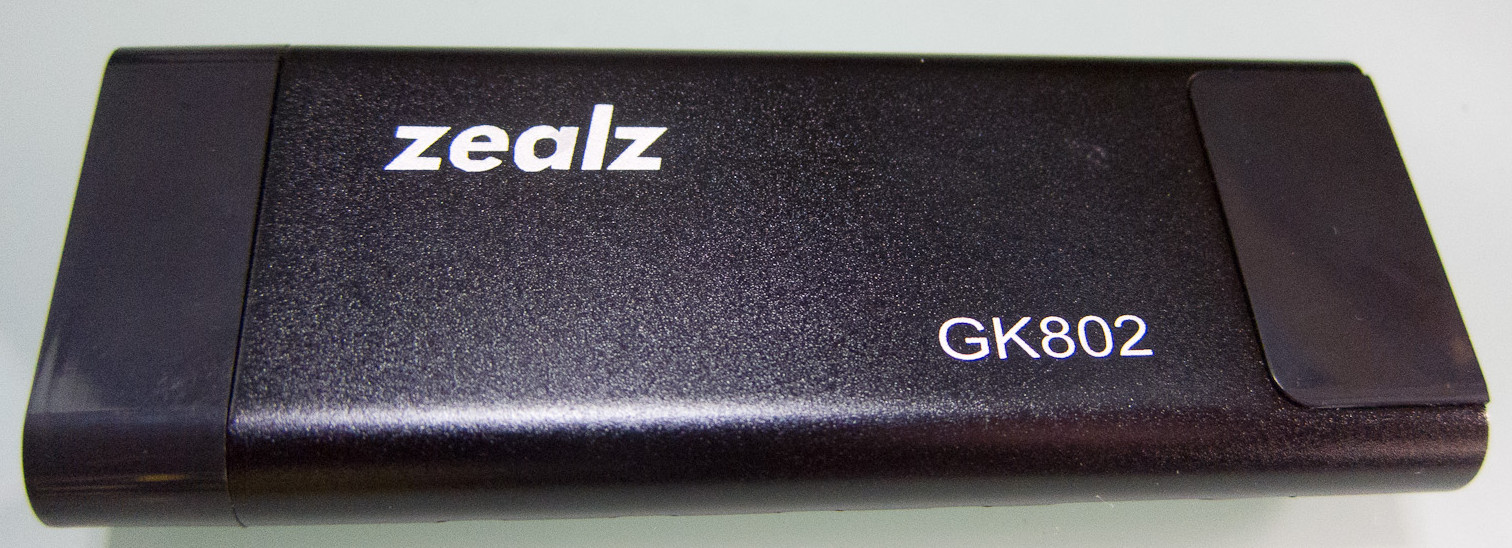
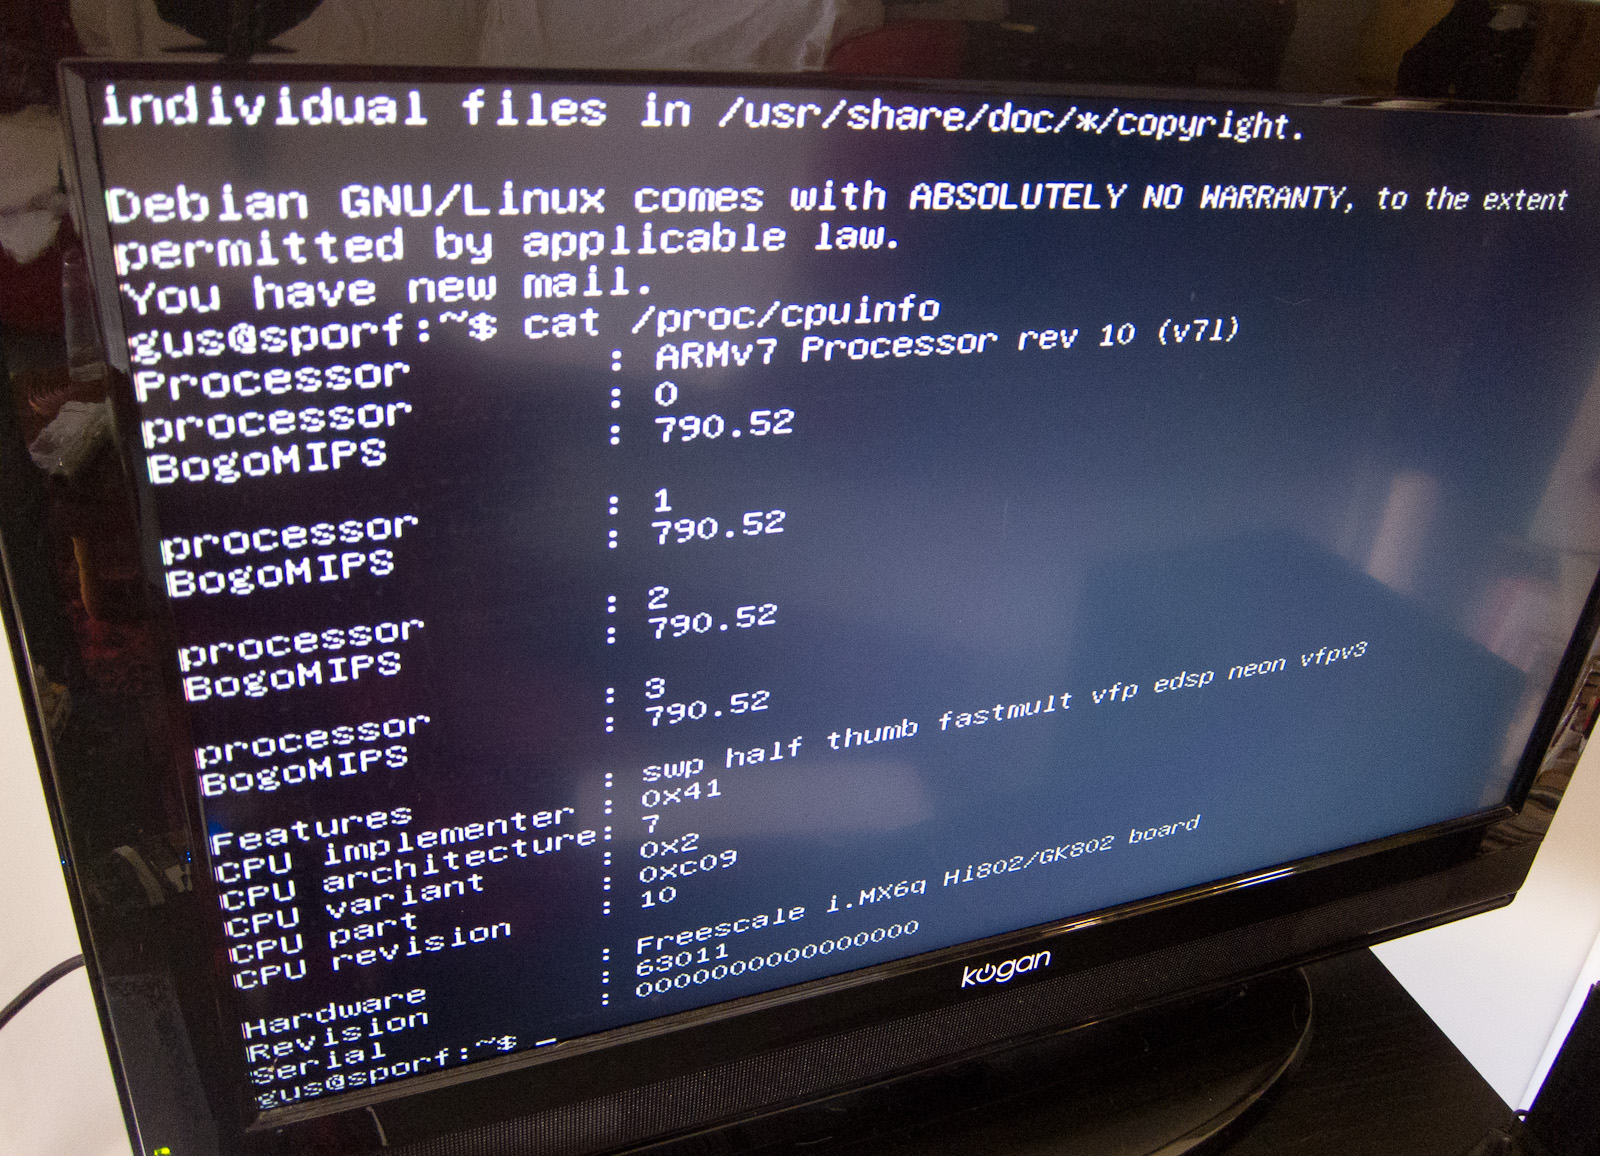
The GK802 is a 1GHz quad core ARM Cortex A9 computer that fits in your pocket. Built around the Freescale i.MX6 system-on-a-chip, it has 1Gb of RAM, two MMC (MicroSD) interfaces, a USB host interface, HDMI output and a LvTTL (3.3v) serial port and i^2^c bus available internally. I got mine for $69.99 on geekbuying.com, taking advantage of this coupon deal.
Quick Start
-
Download the installer image here (21Mb in Gzip or Zip format.)
-
Unzip and 'dd' the 43Mb installer image to a MicroSD card.
To do it in one step:
zcat gk802_debian_installer.img.gz | sudo dd of=/dev/mmcblk0 bs=4M conv=fsync
(Replace /dev/mmcblk0 with whatever device your SD card shows up on. See below for Windows/OS X.)
-
Insert the MicroSD into the internal captive MicroSD slot on your GK802 (On the bottom, you have to open the case to get to it.)
-
Power on with a USB keyboard plugged in (or connect wires to the internal serial port, see below), then follow the prompts to install Debian to either a MicroSD card (internal or external) or a USB device.
If installing to a USB device, you'll need to delete the contents of the installer partition from the MicroSD card before booting into Debian, or it will just boot the installer again. However you should still leave the MicroSD card in place, as it contains the bootloader. You can do this from the Installer Partitioner tool (use the erase or format option on the partition), or just remove the MicroSD and delete the files from your host OS.
If you're not installing to a USB device, you shouldn't have to do anything about the installer partition. If you install to the internal MMC slot "MMC 0" then it will be overwritten, if you install to the external MMC slot "MMC 1" then this slot has higher boot priority than the internal.
- Once you get up and running I suggest immediately installing
ntp(no onboard RTC, and running in 1970 is overrated.)
[]{#updates}
Updates
- 24 May 2013 - Updated the kernel config with IPv6,iptables,task accounting support. (Thanks Roman Re: IPv6.) New installer images are uploaded. Download just the new kernel package here.
OS X or Windows?
If you're on OS X or Windows then here are some Raspberry Pi oriented instructions for writing out SD images from these OSes. Most of these should work with the unzipped installer image, even Pi Filler or Pi Writer I think (despite the Pi-centric titles, SD cards are SD cards and bytes are bytes...)
Things That Do Work
- Wifi, you can even use it for the install. Post-install configuration info here.
- USB host (can use a USB Ethernet device for the install if you have one.)
- CPU Frequency Scaling and thermal throttling.
- HDMI Output.
- LVM, encrypted rootfs, fancy partition schemes, software RAID.
Things That Don't Work
- Bluetooth. GK802 Bluetooth support on GNU/Linux is a work-in-progress at time of writing.
- CAAM hardware crypto module. Disabled as it caused kernel oopses when using LUKS disk encryption. Might work for IPSec as-is, I hope to fix it for LUKS as well and re-enable it.
- GPU/VPU for accelerated desktop graphics or video decoding. See below for details.
- USB Gadget (ie using the GK802 as a USB device.) Disabled due to a known issue.
Serial port?
The internal 3.3v LvTTL serial port is automatically enabled for kernel boot console (the boot console is simultaneously shown on the HDMI output.) The serial port also has a tty assigned to it (in addition to virtual terminal ttys on the HDMI output.)
By default the installer doesn't receive input on the serial port, only via HDMI. Same for any early boot input (ie if Debian detects a problem it will drop you to a root shell shown on the HDMI output.) To swap this interactive behaviour to the serial port, hold down the Recovery button at power on. You can also enter recovery mode via serial, press a key at the uboot autoboot prompt and and then type:
setenv recovery 1; boot;
(To make this change permanent you can also edit the bootloader script, see the Bootloader section below.)
Kernel Updates
The installer provides a kernel package with this kernel and this config.
To change which kernel is booting, in /boot there are symlinks zImage & initrd pointing to the kernel used for normal booting, and zImage_recovery & initrd_recovery for recovery mode booting. Just change these to point to the new kernel.
If you want to build your own kernel package then you can use Debian's make-kpkg tool, something like this:
DEB_HOST_ARCH=armhf fakeroot make-kpkg --arch arm --subarch gk802 --initrd --cross-compile arm-linux-gnueabihf kernel_image
(See the gk802-debian-installer Makefile if you want to create a kernel package with a matching revision scheme to the supplied one.)
Bootloader
On GK802 Uboot loads from MMC 0 (internal/captive) where it is installed before the first partition. The uboot provided with the installer looks for a /ubootcmd or /boot/ubootcmd script file on the first partition of MMC 1 (external), then MMC 0 (internal/captive) then USB devices 1 or 2.
The installer provides a suitable /boot/ubootcmd script, with accompanying source in /boot/ubootcmd.src. That script looks for a zImage kernel and initrd in the first partition of MMC 1, then MMC 0, then USB devices 1-5.
To regenerate the uboot /boot/ubootcmd from /boot/ubootcmd.src, run /boot/update_ubootcmd.sh.
If you need to reflash the Uboot binary to MMC 0 you can download it from here ([source language="here"]/source) and flash it with
sudo dd if=u-boot.imx of=/dev/mmcblk0 bs=1k seek=1
Why distribute an installer?
Usually for these kind of devices people just provide a precanned OS image that boots directly up. I'm not a huge fan of this, it usually makes it hard to reproduce what the author did and inevitably there'll be some extra stuff installed or lying around on the filesystem from when they were cleaning it up post-release.
I am guilty of all of these sins myself, but this time I wanted to make it so someone else could reproduce the results, or easily tweak the build process. Hence, github repo. It's still hacky, but it's better than nothing.
Also, for my GK802 I wanted to run an encrypted rootfs on top of a software RAID-1 device using both MicroSD slots. You can probably set this up by hand with Debootstrap and lots of file editing, but Debian-Installer does it neatly and automatically just by following some menu prompts.
Full Desktop OS?
The Debian Desktop option is available to choose in the installer (takes a fair while to install.) It may even work out-of-the-box if your screen doesn't strike the kernel EDID bug and default to 640x480 (mine does.) However you'll only get the plain unaccelerated framebuffer driver fbdev, this is not a good option for a full desktop OS.
The Vivante GPU is disabled in the Kernel config, because this saves 192Mb of RAM. Also no proprietary Vivante X11 drivers are installed.
If you want a ready-to-go desktop OS with video acceleration, check out Jasbir's Ubuntu images for GK802.
NB: Freescale supplies binary xorg drivers that work with Ubuntu, which is what Jasbir uses. These may work with Wheezy but it's unlikely - Ubuntu 12.04 uses Xorg 1.11 and Ubuntu 12.10 uses 1.13, but Wheezy uses 1.12, so the ABIs are probably different. Please post your findings if you experiment with this. :)
Source?
The "source" build process that preprocesses a Debian netinst image to produce a GK802 installer is on github here if you want to do anything with it.
Resources
-
imx6-dongle on Freenode IRC, lots of GK802-specific conversation.
- imx6-dongle Google Group / mailing list.
- imx6-dongle on github. These are the upstream sources for the kernel/uboot I used, and they have a useful Wiki. Big thanks to all the imx6-dongle contributors, made this very easy.
- IMX6 Freescale Community Forums bit of a nightmare to navigate but lots of useful i.MX6 stuff (not usually GK802-specific) there.
Thoughts on “Debian Installer for Zealz GK802 "Android TV" quad core ARM MiniPC”